ClickUp integration
IN THIS ARTICLE
The ClickUp integration allows users to export deals into ClickUp projects using the deal exporter.
Setting up your ClickUp integration
Before you start exporting deals to ClickUp, you'll need to connect your ClickUp account to Estii. This option is available exclusively to admins under the enterprise plan.
Steps to integrate ClickUp
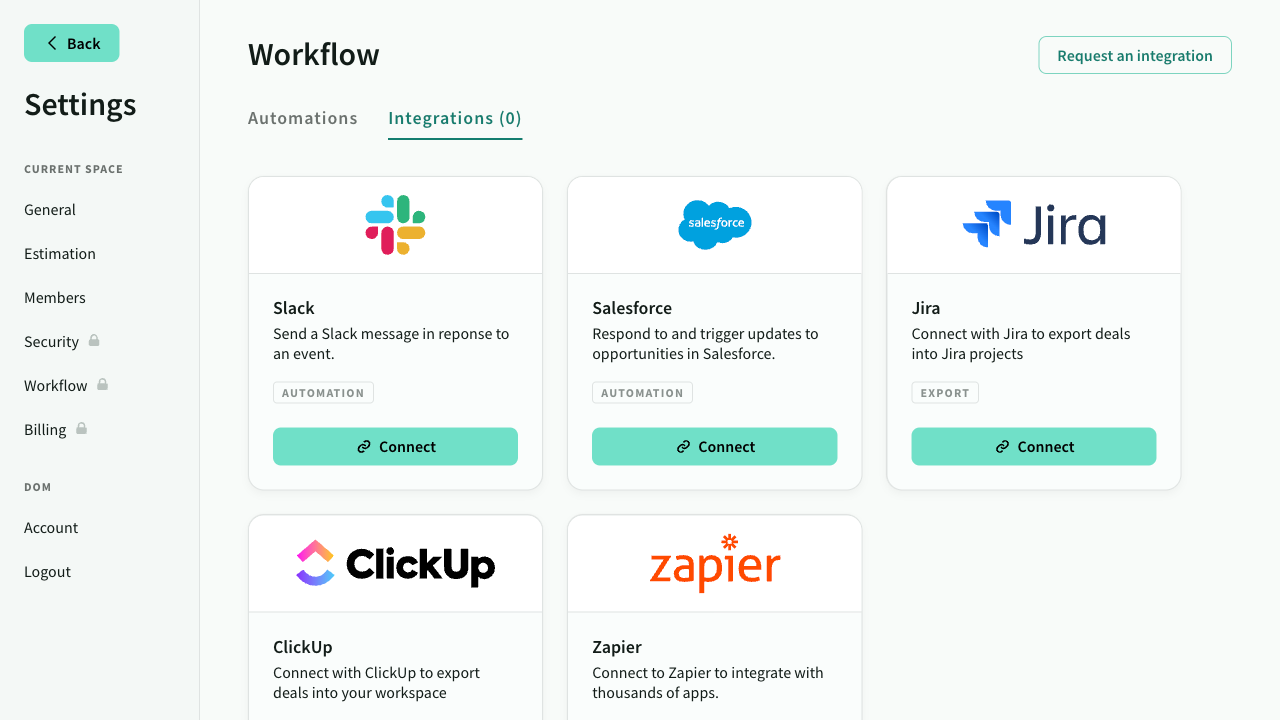
- Go to Settings > Workflow > Integrations.
- Select the option to connect to your ClickUp account, then follow the on-screen prompts to authorise Estii to access your ClickUp workspace.
Exporting deals to ClickUp
Once your ClickUp integration is set up, exporting deals to ClickUp is straightforward.
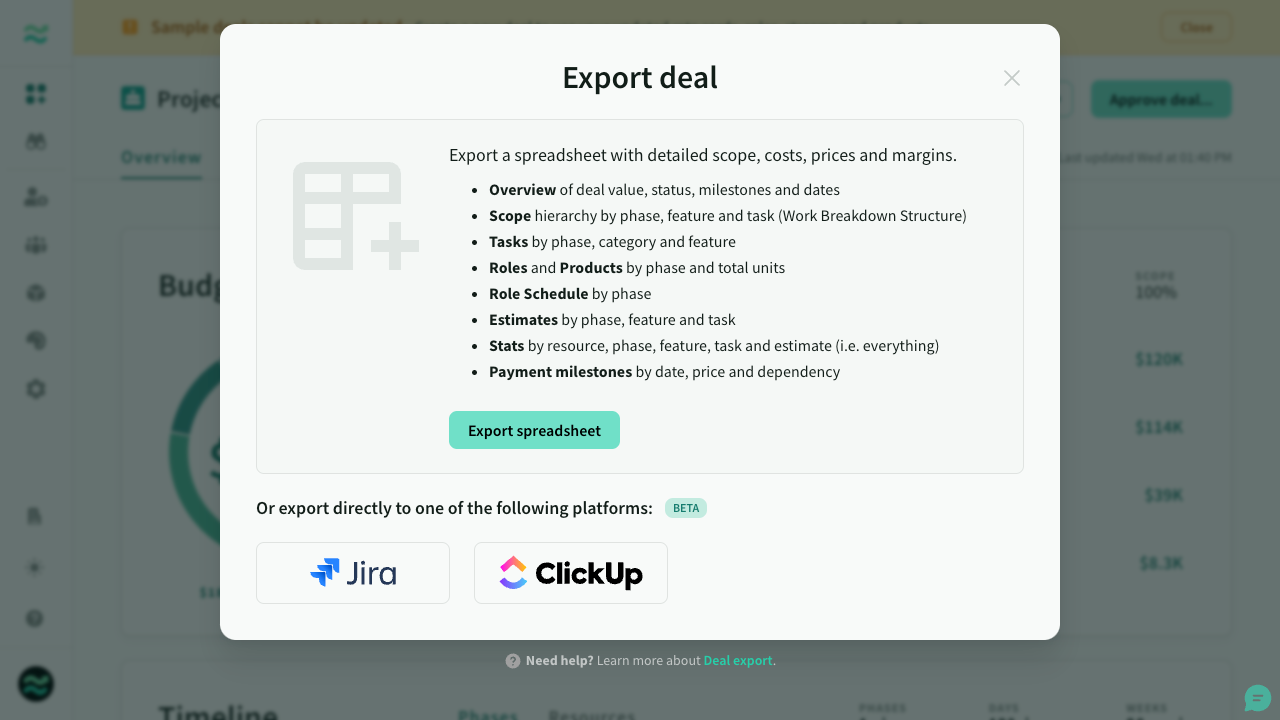
- In the deal view, click on
Export...from the deal header menu. - Choose the ClickUp export option.
- Select your target ClickUp space and project.
The export might take a few minutes. Feel free to close the window once the export is complete.
What to expect from the ClickUp export
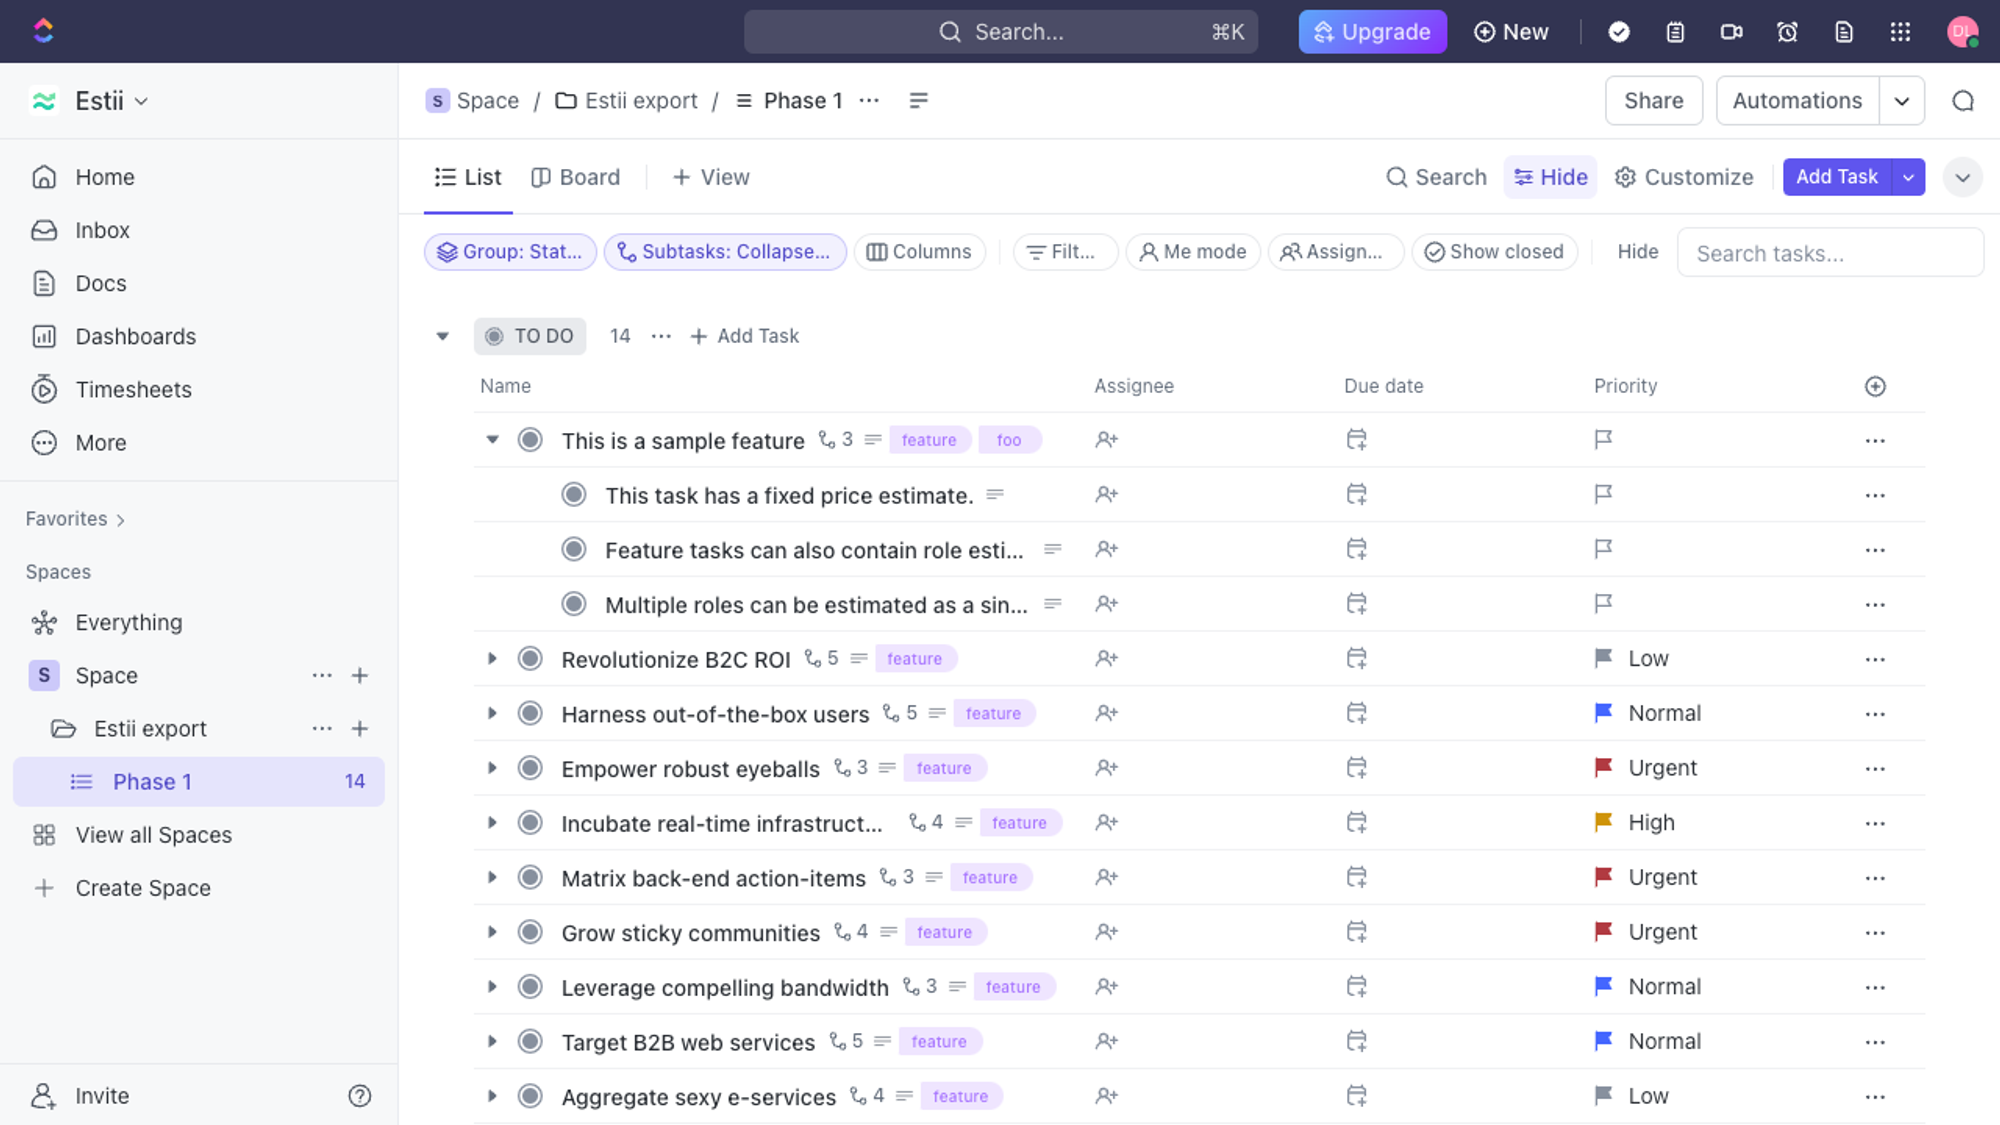
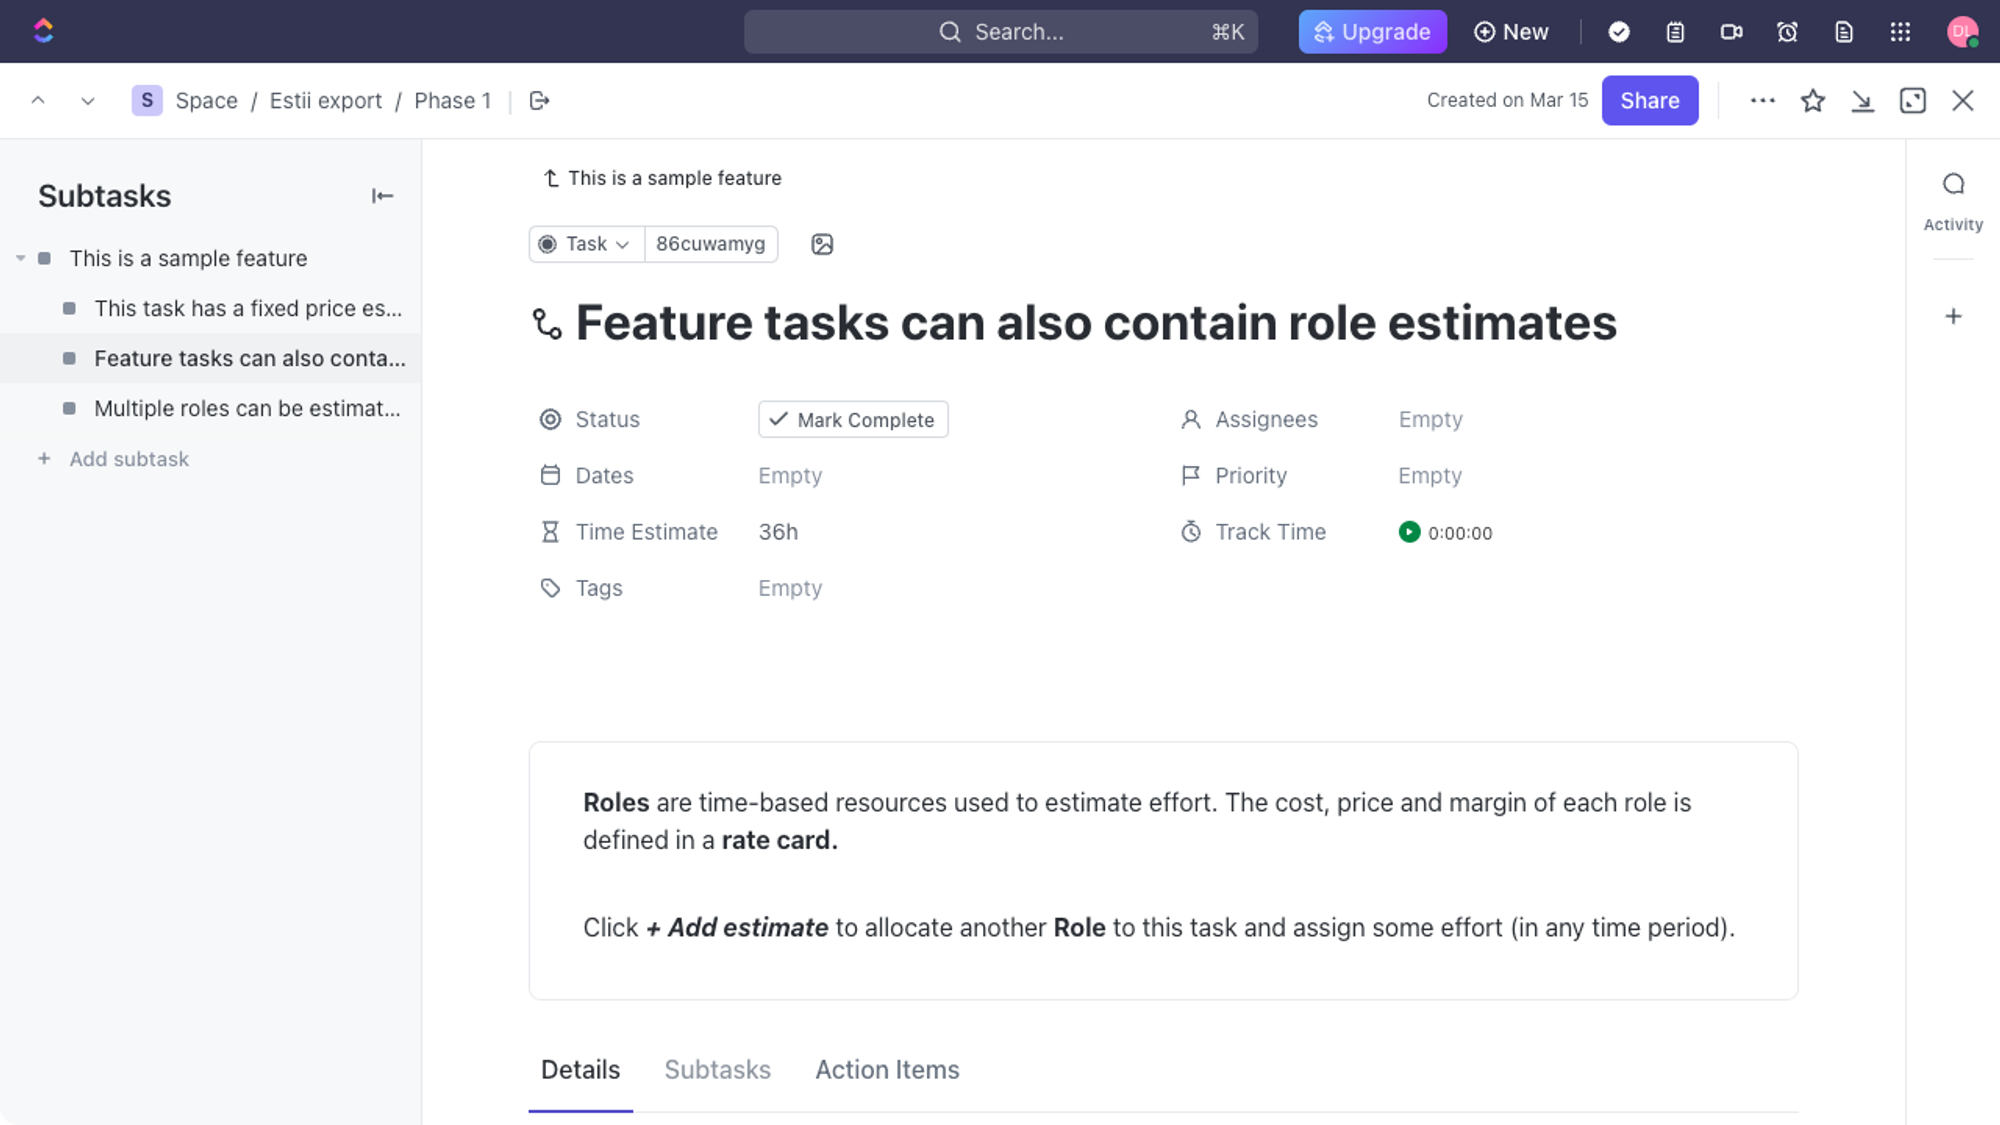
The ClickUp export process translates your Estii deal into the ClickUp hierarchy, and exports it to a folder within your selected project called Estii export.
| Estii item | Mapped to ClickUp |
|---|---|
| Phase | List |
| Feature | Task |
| Task | Subtask |
- Phases and Features: Names and descriptions are exported, with descriptions including a backlink to Estii for easy reference.
- Feature: Name, description (backlink to Estii), priority and tags
- Tasks: Name, markdown description, tags and time estimates
Examples
Important Considerations
- If there's already a folder named 'Estii export', it and its contents will be replaced
- To view time estimates, you have to active the corresponding ClickApps in your ClickIp settings
- If you encounter any issues during the export, refer to the generated log file for troubleshooting or reach out for support.
Need help?
If the troubleshooting steps don't resolve your issue, don't hesitate to get in touch with our support team for further assistance.